
Power Automate Desktop is a new Windows 11 tool with the ability to automate many different tasks. Power Automate’s predecessor was Microsoft Flows. With Power Automate, users can automate repetitive, manual tasks to save time and effort.
In this article, TipsMake.com will show you how to use Power Automate on Windows 11.
Power Automate Desktop Basic Settings
First, to run Power Automate you need at least 2GB of RAM and 1GB of free storage, .NET Framework 4.7.2 or later, an up-to-date web browser, and an Internet connection.
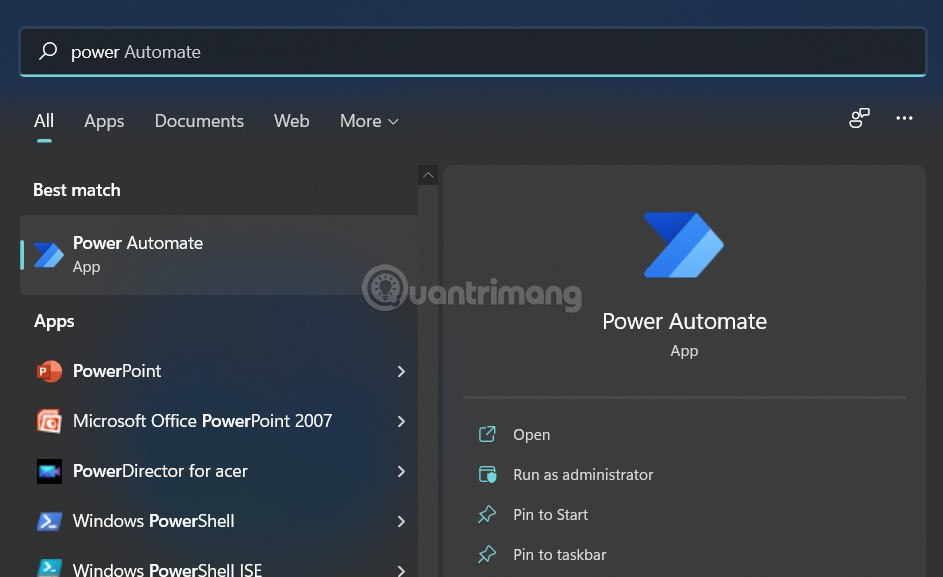
B1: Power Automate is pre-installed on Windows 11, so to open you just need to press the . button Start then enter power automate already Enter to open the application.
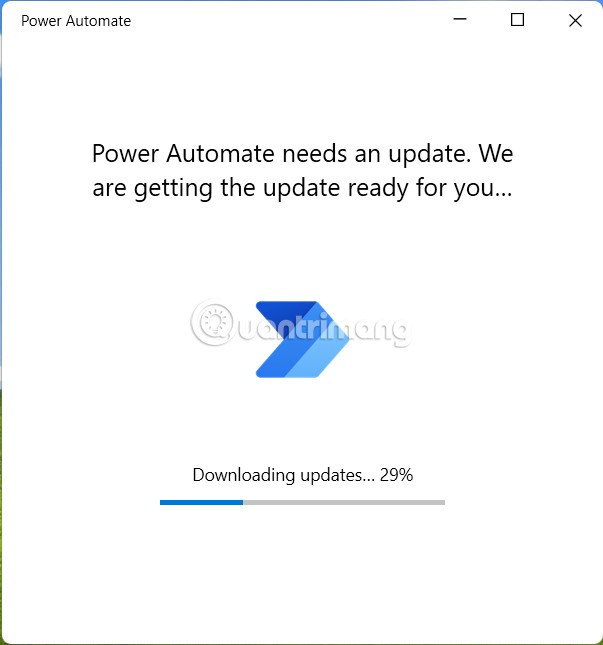
B2: When you first start the application, you will have to wait a while for it to check for updates.
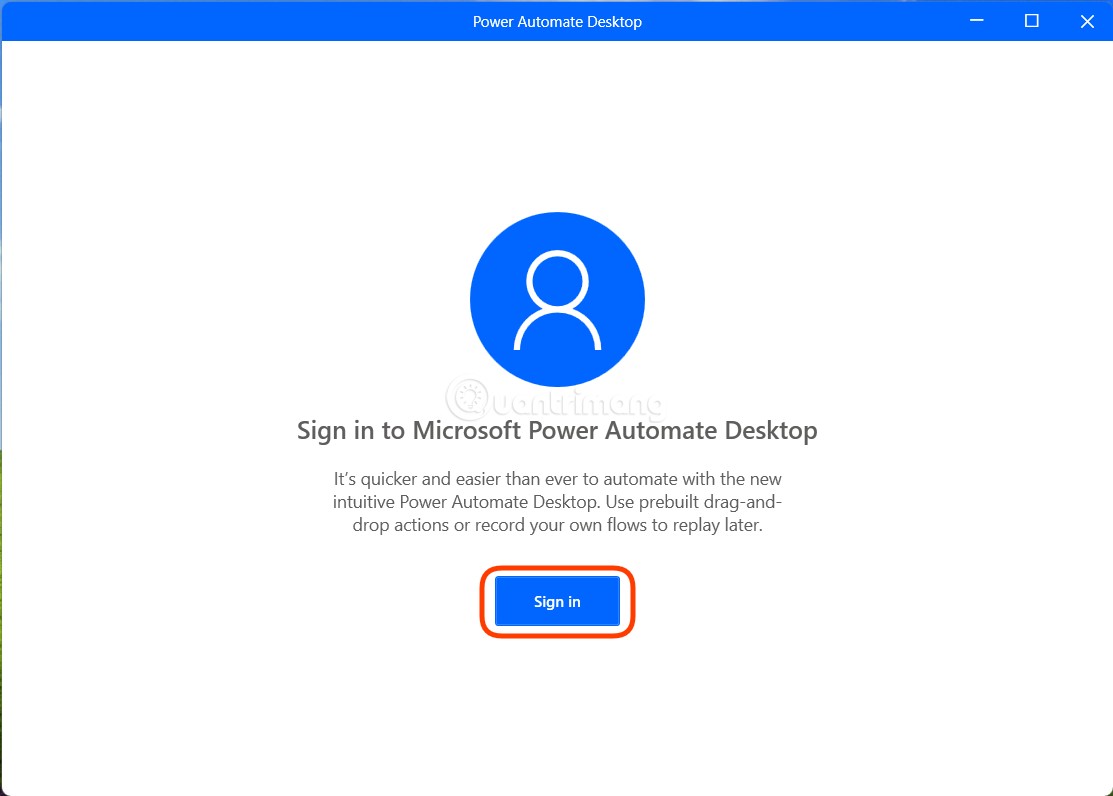
B3: Then you will have to log in to your Microsoft account to be able to use it. If you do not have an account, you can refer to how to create a Microsoft account.
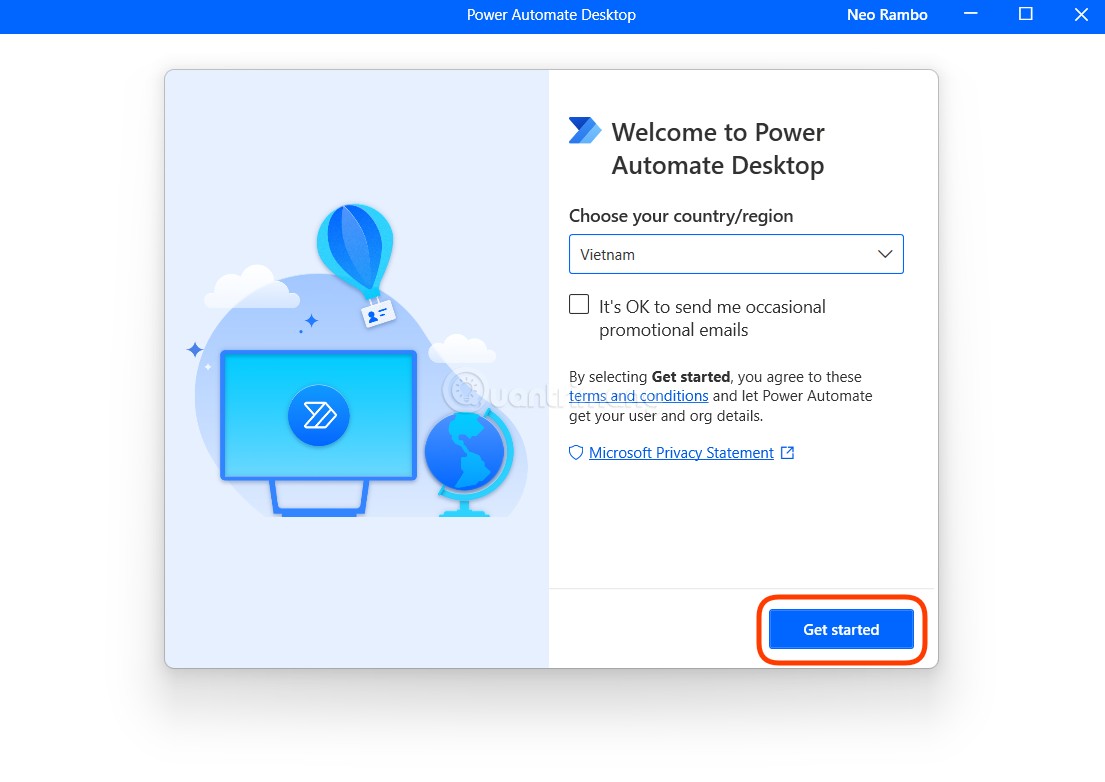
B4: After completing the steps to enter your email and login password, you will have to choose the country Get started.
B5: The main interface of Power Automate Desktop will appear so from here you can create your own automation flows.
How to create an automation flow on Windows 11’s Power Automate
In Power Automate Desktop, sequences of automation actions are called flows. Here are the details on how to create an automation flow:
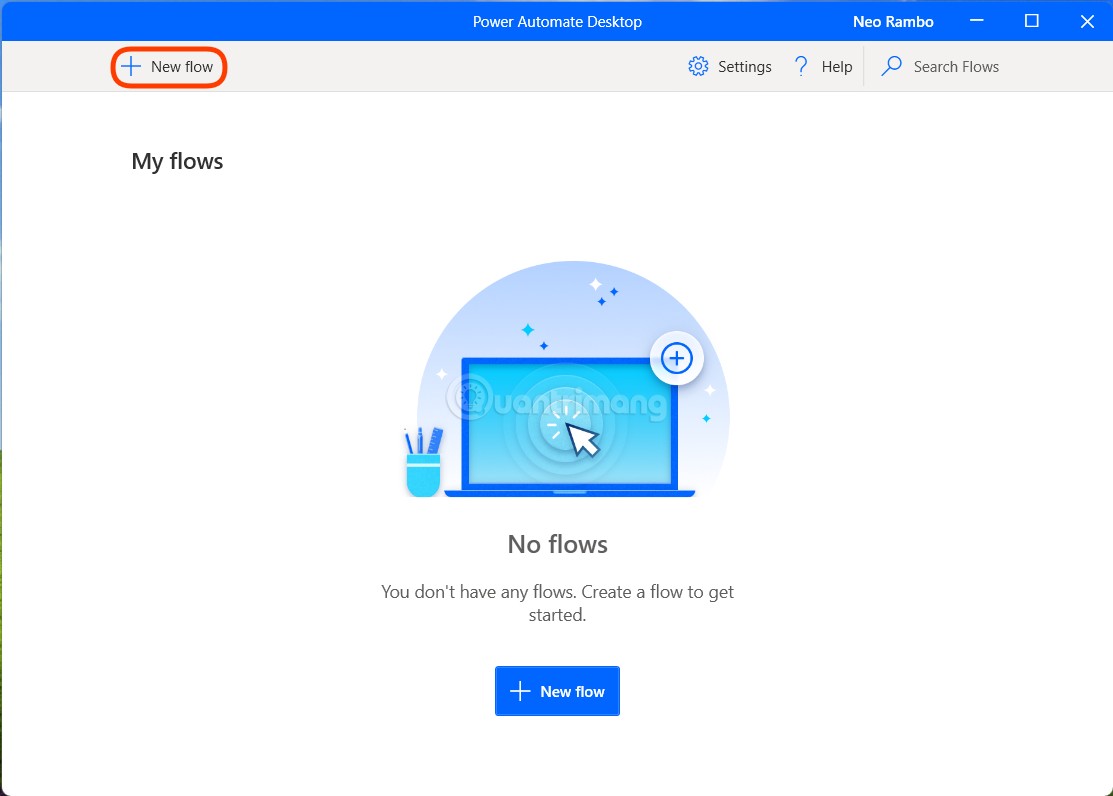
B1: To create a new flow, click the button + New flow in the upper left corner.
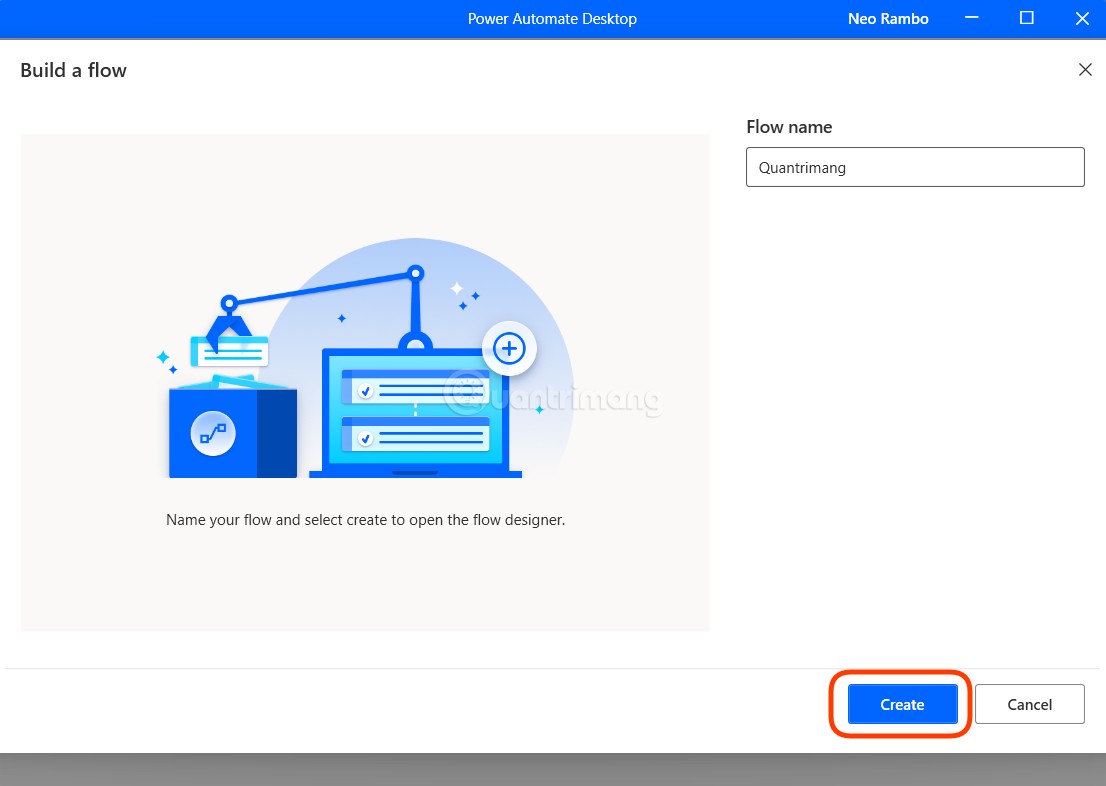
B2: Enter a name for the new flow and then press Create.
B3: This will open two windows, one is a window My flows where you can create and manage your flows and two is the flow edit window where you record/edit the flow you just created. If the second window does not appear, you can double click on the flow name you want to edit in the My flows page to open it.

B4: The flow editing window is divided into 3 parts. The box on the left has the name Actions, contains more than 370 pre-made tasks. The middle box is the part Main where you can adjust workflow and flow activities. The box on the right hand side has the name Variables, where input/output variables are stored when you are building a flow.
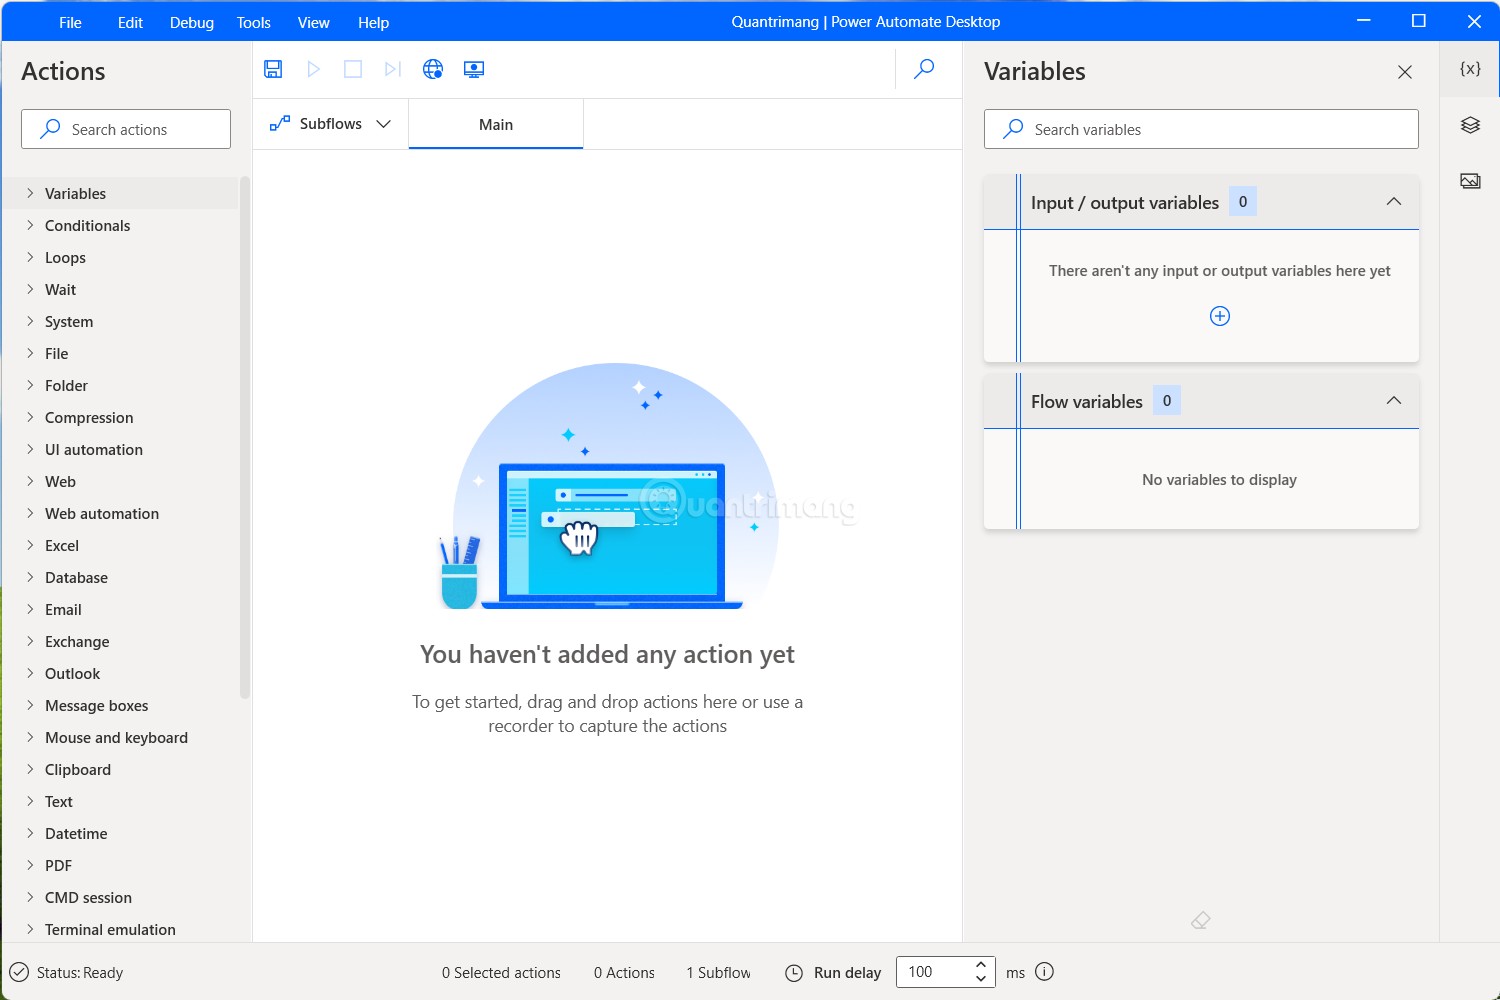
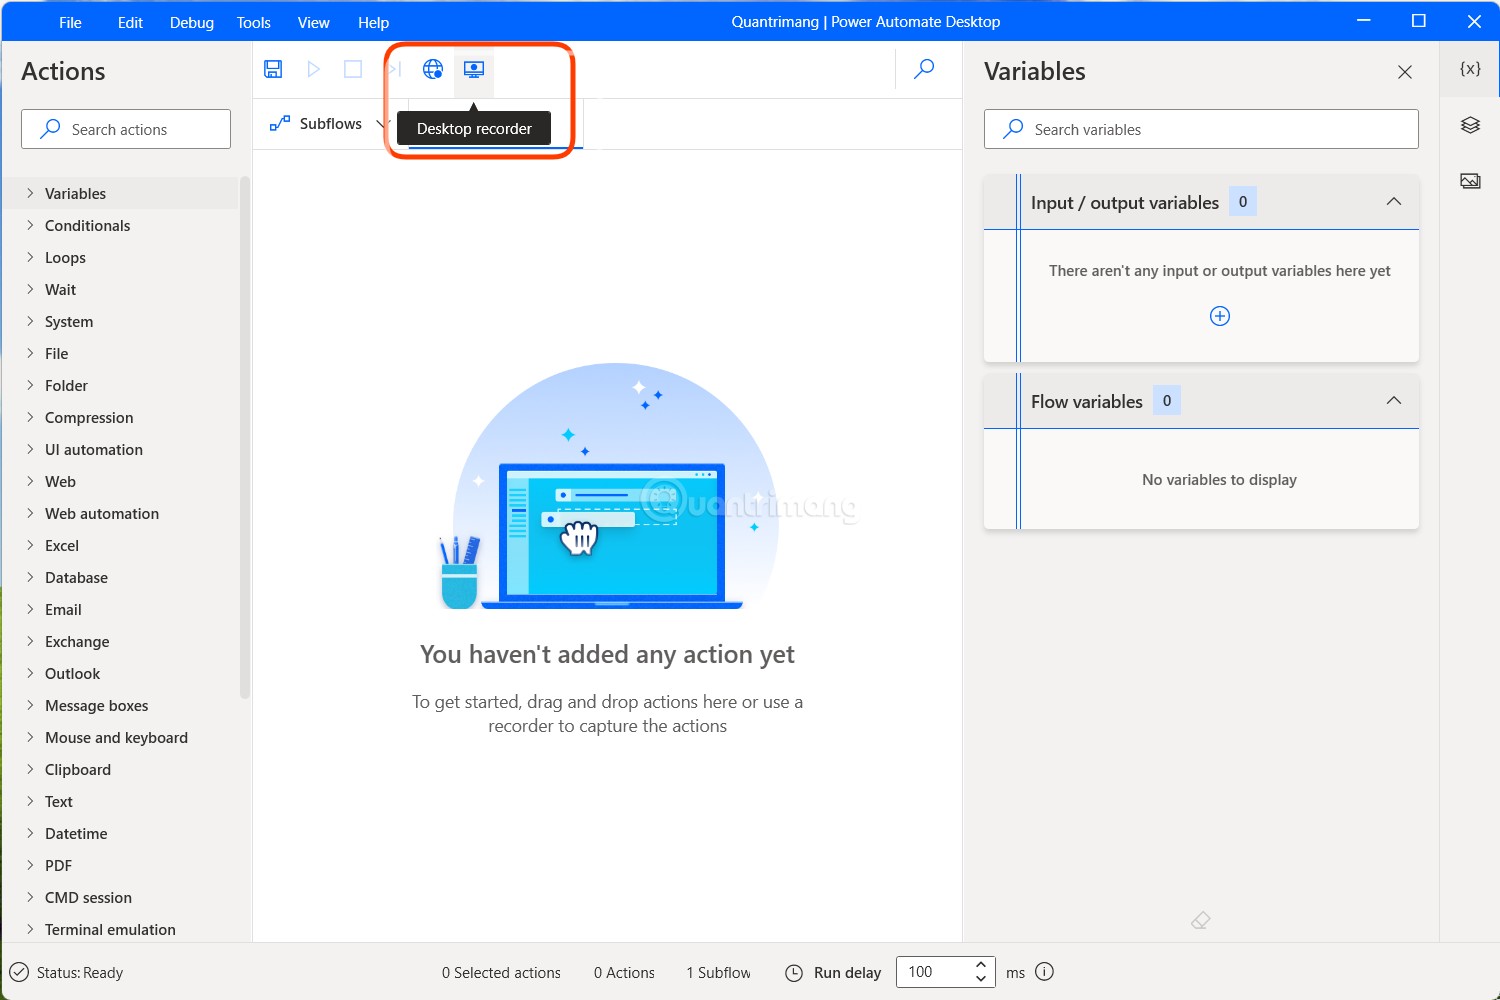
In the Main section, right above there are icons corresponding to the button Save, Run, Stop, Run by action, Web recorder and Desktop recoder.
You can build flows in 3 ways, one is to drag and drop tasks from pre-built flows from the left pane and the other is to use the task logger. The third way is to combine both ways to create the flows you like.
Example of creating a flow using Power Automate
Now, to show you how Power Automate works, TipsMake.com will show you how to create a simple flow using the task recording feature. We will create a flow that automatically plays music using Sportify.
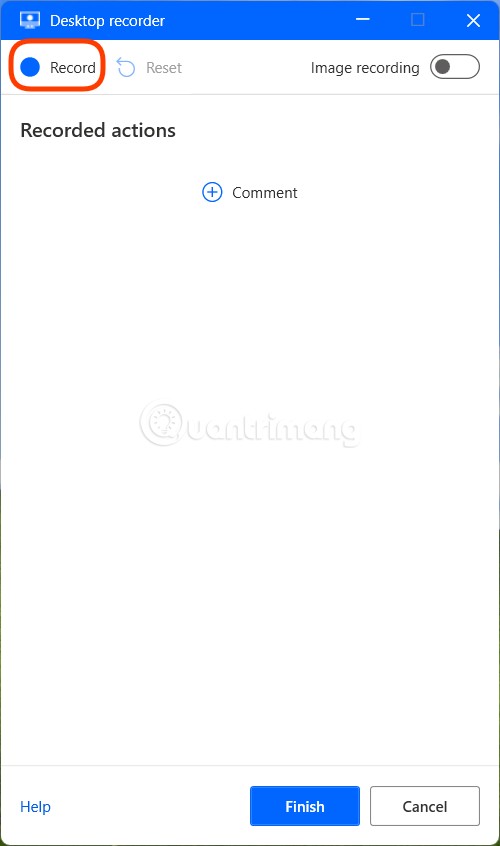
B1: First at the flow editing interface, click Desktop recorder.
B2: Window Desktop recoder will appear. You press Record and start performing the action to be recorded.
B3: You perform actions at a moderate pace to Power Automate can record the operation in the most accurate way. Here, TipsMake.com will press the . button Search on Windows 11 and search for the term Spotify. When the . button is pressed Search, you should wait a few seconds for the window Search appears completely and then enter the keyword.
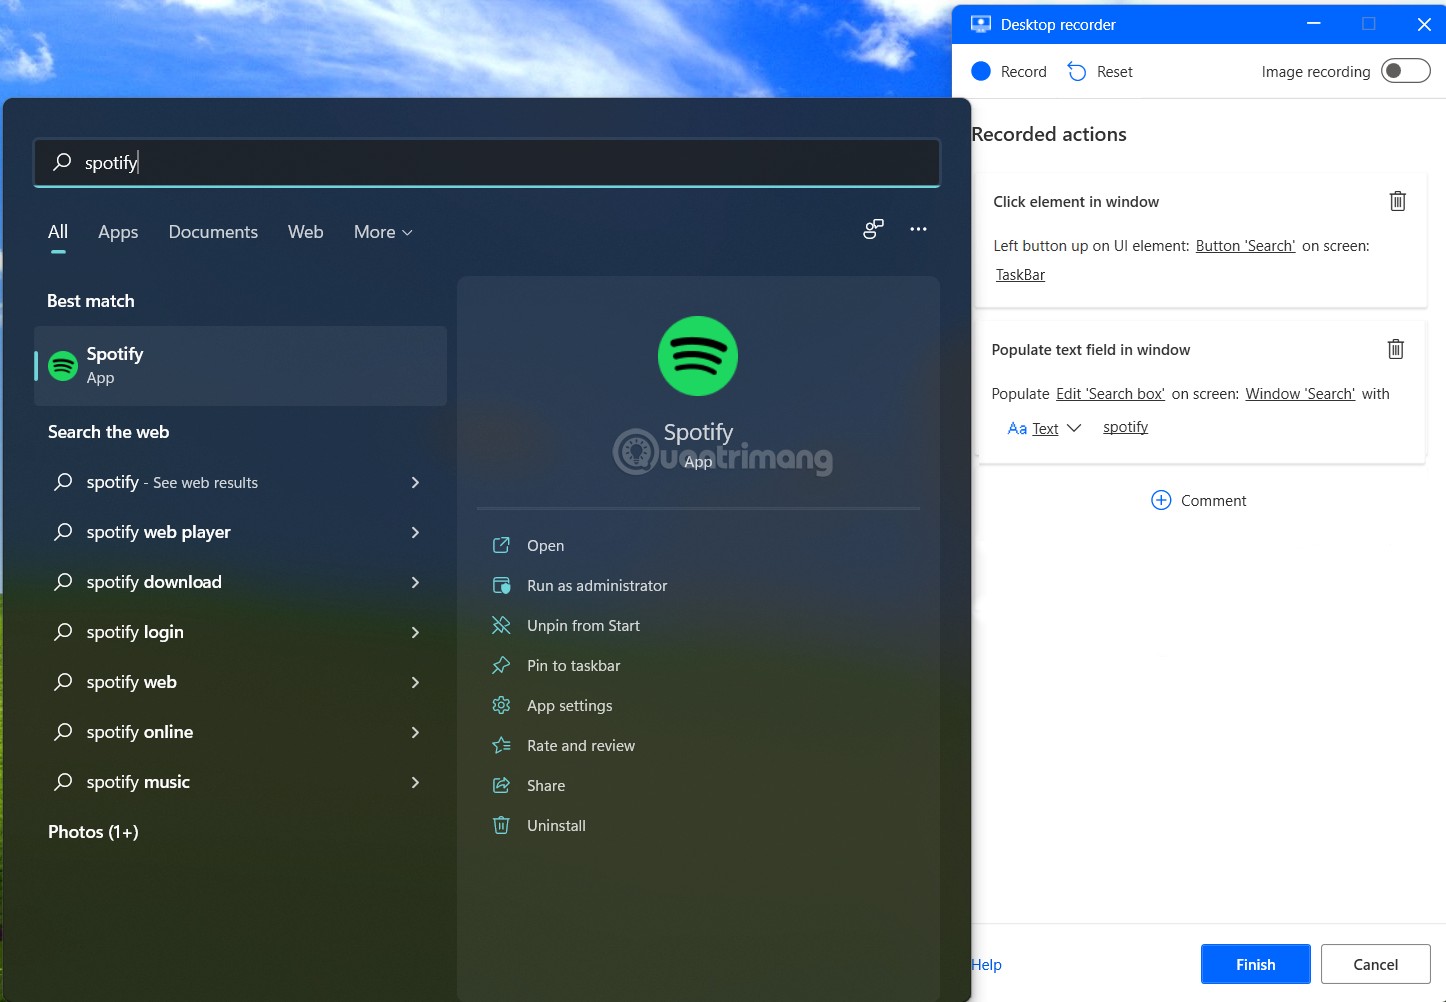
B4: When the Spotify application appears, click and wait for the application to open. After the application is finished, you continue to search and open your favorite Music Album.
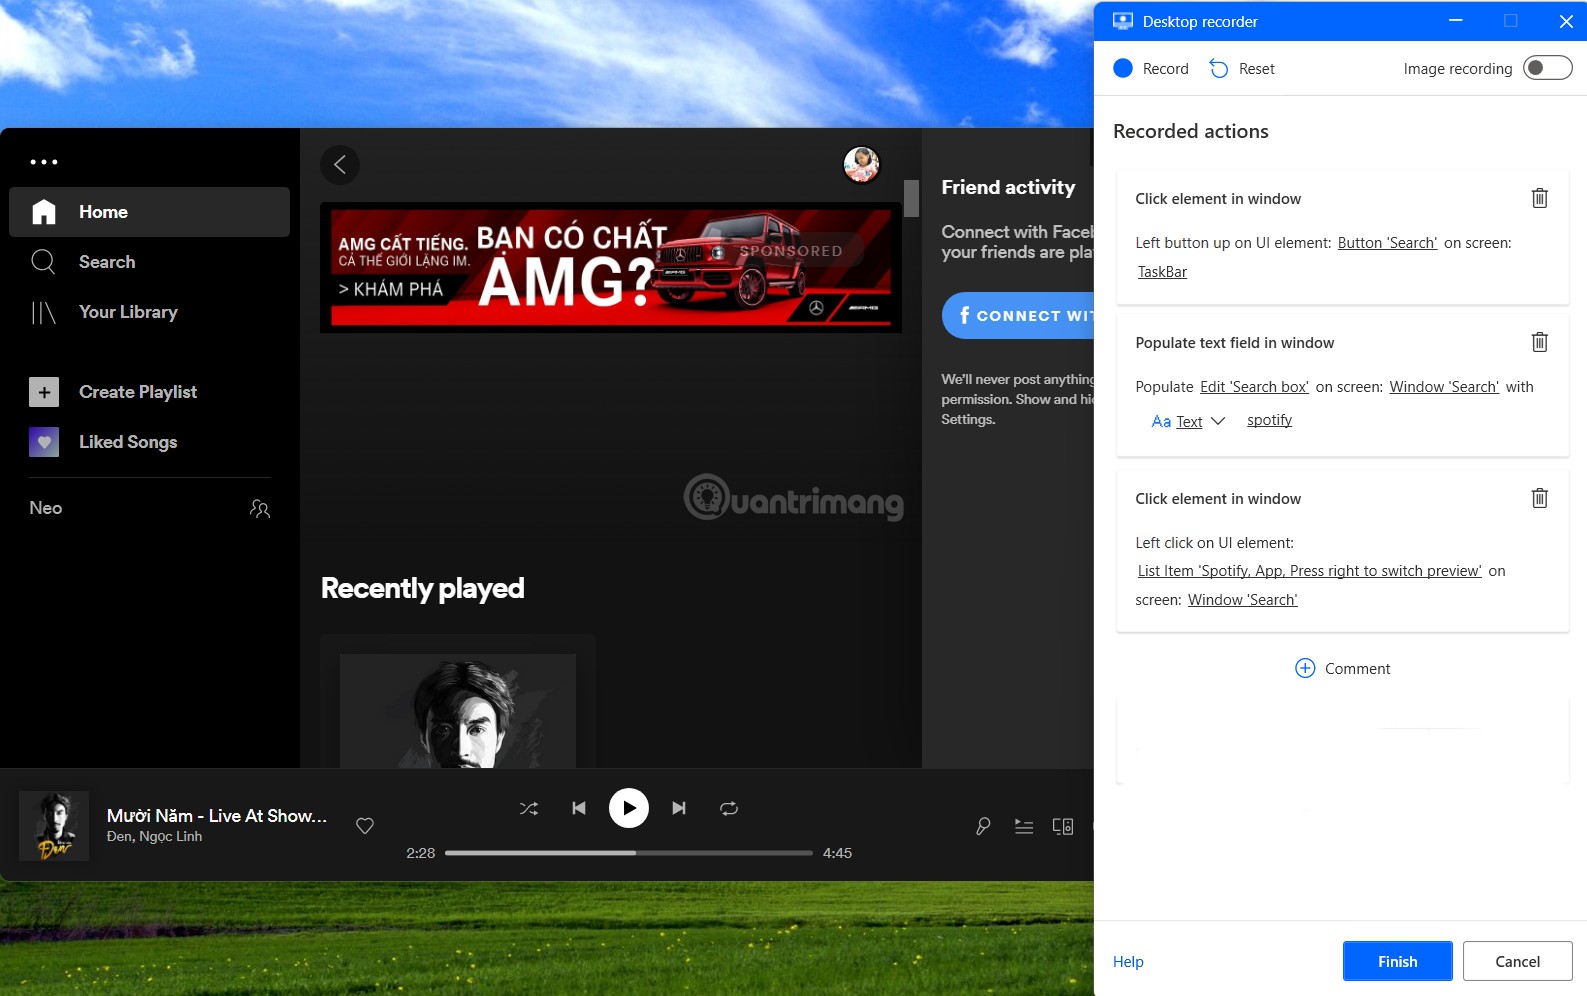
B5: After you’re done, press finish to complete. During recording, you can pause and start recording if you need to do something else out of the stream. In this example, TipsMake.com has paused recording several times to take screenshots.
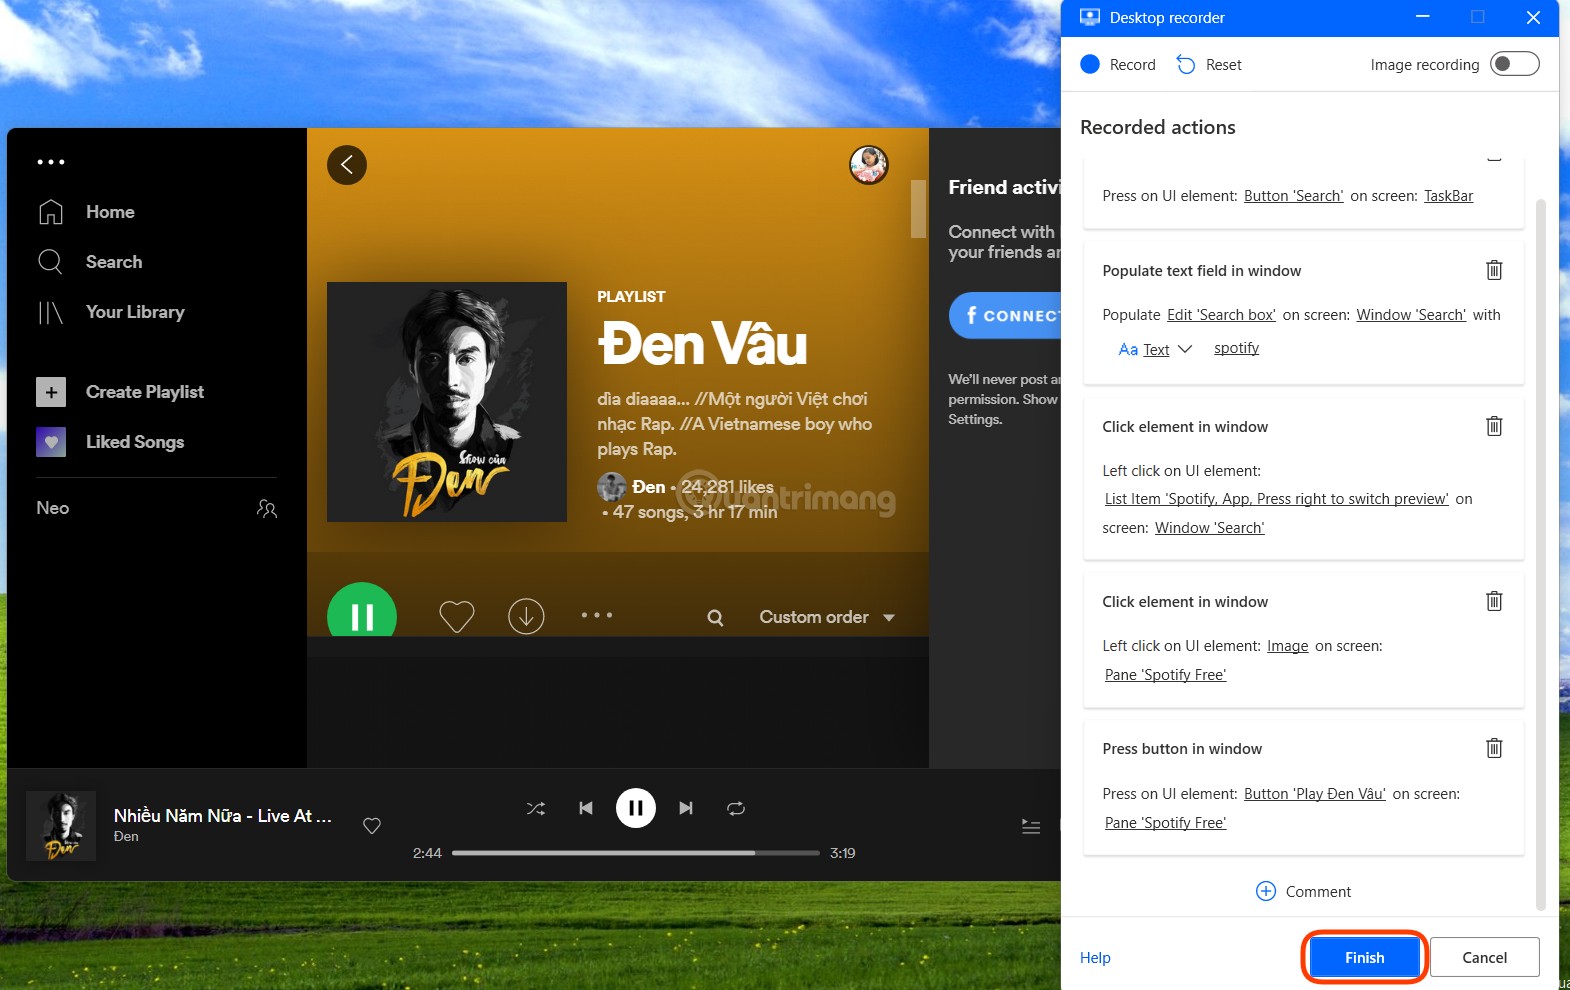
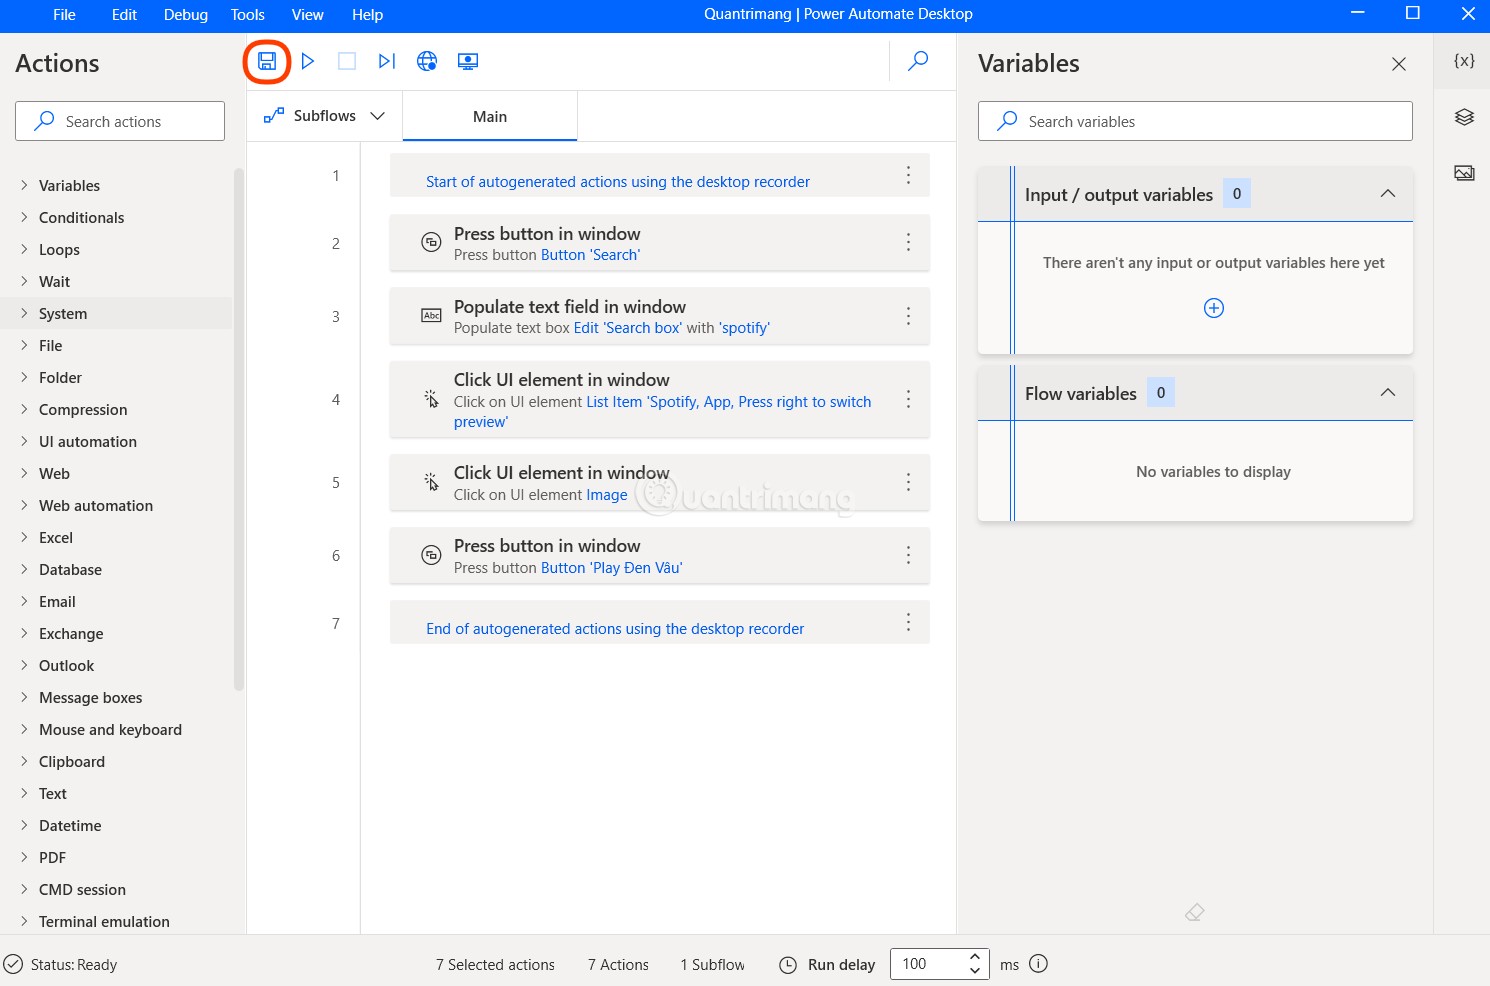
B6: The Desktop recoder window will disappear and you will be returned to the flow editing window. Here you can add, edit, test and save the flow you just created.
Reviews of Power Automate Desktop
In fact, this tool is not easy to get used to. For the average user, using Power Automate to create flows is not simple at all. Moreover, the easiest feature of recording and then repeating the operation is also not very stable. It’s easy to crash if certain Windows 11 interfaces don’t load up to speed.
In general, Power Automate is only for Pro users. Then the ability to leverage Power Automate to automate new tasks can be maximized.
Good luck!
Source link: How to use Power Automate on Windows 11 to automate tasks
– https://techtipsnreview.com/


