
When using images in Powerpoint, if you do not use effects for images, the images in the presentation will look very monotonous, boring and lack of attraction for viewers.
Therefore, if you want your presentation to be more vivid, making a deep impression on the audience, you should use the effects available in Powerpoint.
So how to use those effects for images, in this article, I will guide you how to create effects for photos in Powerpoint in the most detailed and clear way.
Read more:
Instructions for creating effects for images in PowerPoint
Prepare: First you insert the image into Powerpoint => then follow the instructions below.
In this tutorial, I use Powerpoint 2019, other versions from 2010 and up, the usage is completely similar.
Perform:
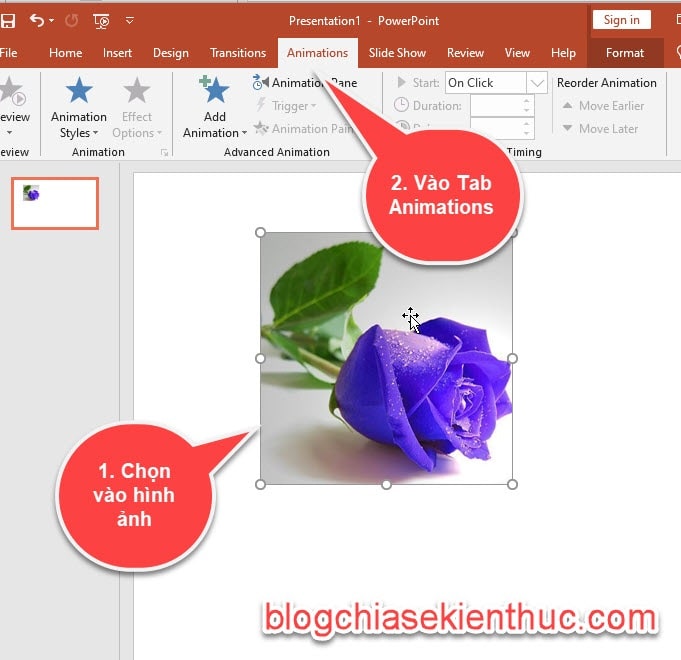
+ Step 1: Select the image object you want to insert the effect on => then go to Tab Animations as shown below.
+ Step 2: A list of effects will now appear, click the down arrow to appear more effects.

+ Step 3: Choose the effect you want for the image, by clicking any effect you like.

Here there are 4 main types of effects, which are:
– Effect appearance (entrance): That is, when you choose this effect when presenting, the object will appear from somewhere, not available on the screen.
– Emphasic effect: When you select this effect, the object is already available on the screen, when you display the object, it will change states such as color, size, etc.
– Exit effect (exit): When you select this effect, the object disappears from the screen during the slide show.
– Motion Paths: help the object move left, right, or go around, or follow a certain line that you draw.
Tips: An image can add many different types of effects. To create many effects for the image we go through step 4.
+ Step 4: You click on the image => then click Tab Animations => choose Add Animation => next you choose any effect you want.

Result: The image will have 2 effects as shown below.

After we have set up the effect for the image, we will go to learn about the effect display time.
+ Step 5: To set the display effect time for the image, first select the image that has the effect inserted => then go to Tab Animations => then click the drop-down arrow in the . section Start to establish.
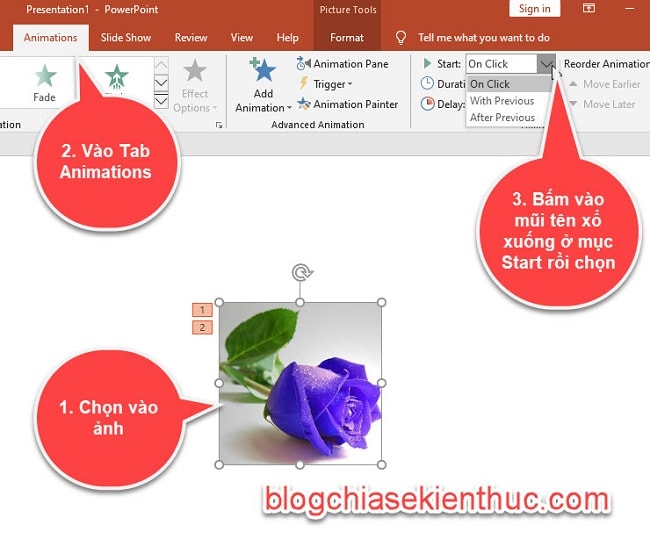
Here there will be 3 options for setting the display time for the effect.
- On Click: With this option, the image will be displayed as soon as we click the mouse (and it is the default option).
- With Previous: This selection will display the image at the same time as the previous linked object
- After Previous: The animation displayed after the last animation ended.
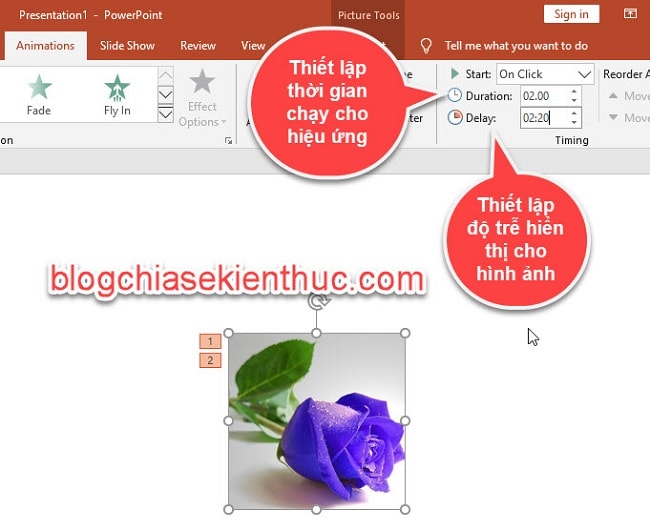
In addition, you can also adjust the effect time to appear faster or slower for the image.
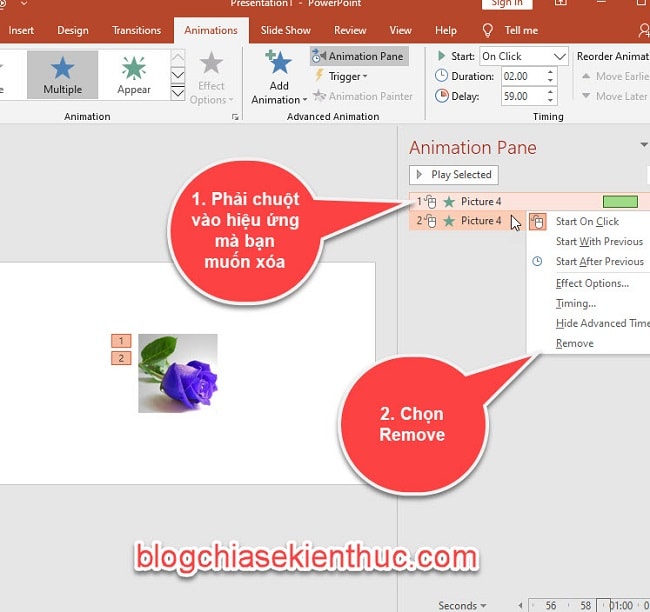
If you no longer use the effect you have set up, you can delete it. To remove the effect, follow step 6 below.
+ Step 6: You go to Tab Animations => click select Animation Pane.
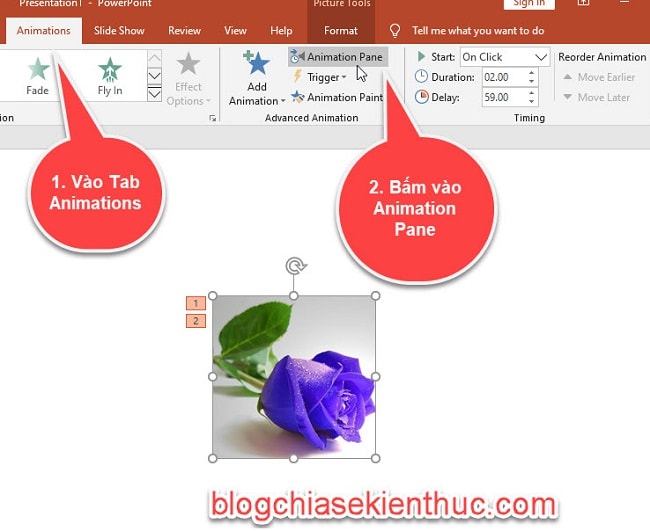
Then right click on the effect you want to delete => select Remove.
Conclude
So in this article, I have guided you in detail with how to add effects to images in Powerpoint. Hope this knowledge is useful to you. Good luck !
CTV: Ngoc Cuong – techtipsnreview
Note: Was this article helpful to you? Don’t forget to rate the article, like and share it with your friends and family!
Source: How to create more effects for images in PowerPoint
– TechtipsnReview